DIY paper model kits for kids, Post
From Flat to Fantastic: The Creative World of DIY Paper Model Kits
May
From Flat to Fantastic: The Creative World of DIY Paper Model Kits
In a modern era dominated by heavy plastics, expensive electronics, and the constant hum of digital devices, there is something remarkably elegant and grounding about the art of paper engineering. We often perceive paper as a simple, two-dimensional medium reserved for drawing, writing, or printing. However, with a strategic series of folds and a few precise cuts, this humble material transforms into a sturdy, three-dimensional masterpiece. DIY paper model kits for kids have experienced a massive resurgence in 2026, offering a unique blend of meditative craft and structural engineering that challenges the young mind without requiring a single battery or Wi-Fi connection.
The transition from a flat sheet to a volumetric object is a profound experience for a developing child. Whether they are constructing a miniature prehistoric dinosaur, a scale model of a sleek supercar, or a towering fantasy castle, paper modeling provides a quiet, screen-free sanctuary for creativity. It is an activity that rewards the “slow and steady” approach, teaching children that incredible things can be built from the simplest of materials through patience, vision, and a bit of glue.
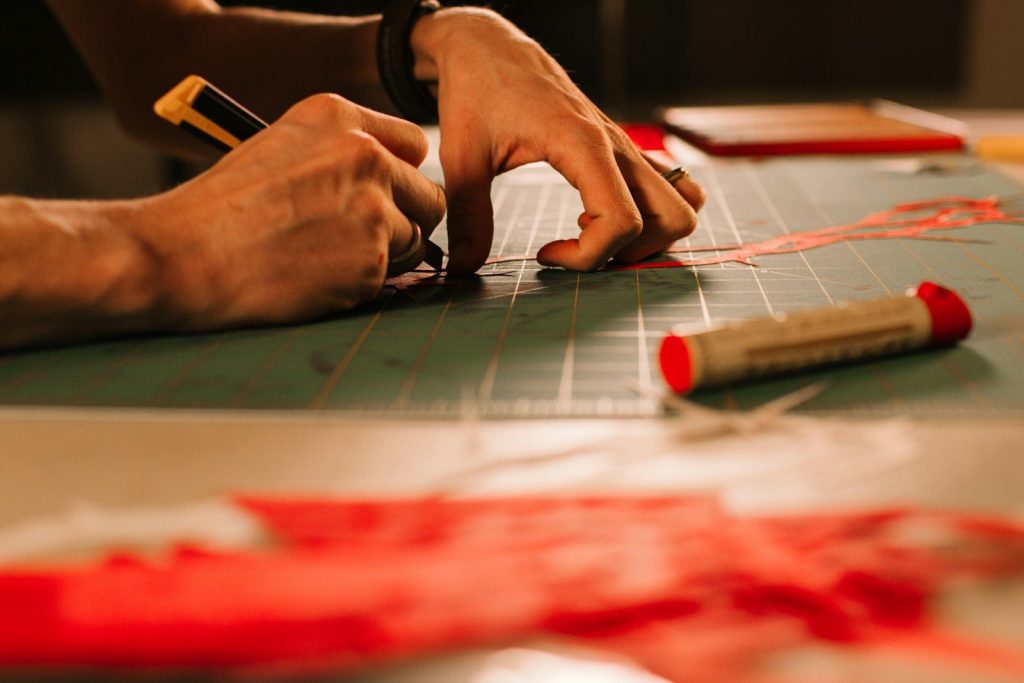
Engineering begins with a single precise cut and a vision for the third dimension.
The Cognitive Leap: Understanding 3D Geometry and “Nets”
How does a flat triangle become a pyramid? How do curved tabs interact to create a round turret? These are the fundamental questions children solve in real-time when working with DIY paper model kits for kids. Unlike solid building blocks which are pre-formed, paper models require the builder to understand the “unfolded” version of an object—a critical concept in mathematics known as a “net.”
The Mathematics of Paper Nets
A net is a two-dimensional pattern that can be folded to form a three-dimensional solid. By visualizing how these flat shapes interact to create volume, children develop a high level of spatial reasoning. For example, when building a simple cube, a child learns that the surface area consists of six identical squares. Mathematically, the transition from a 2D net to a 3D volume involves understanding the relationship between surface area and volume:
$$Surface\ Area\ of\ a\ Cube = 6s^2$$
$$Volume\ of\ a\ Cube = s^3$$
By physically manipulating these shapes, children internalize concepts of angles, symmetry, and structural reinforcement. DIY paper model kits are essentially a hands-on geometry lesson disguised as an art project, making complex mathematical concepts tangible and fun.
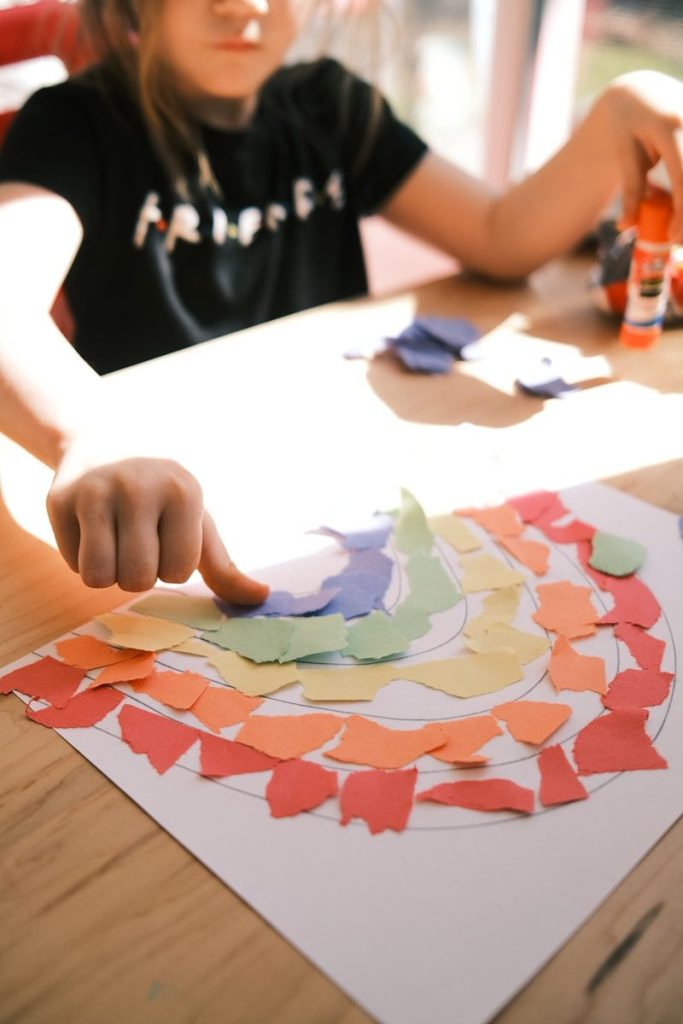
Paper modeling encourages children to enter a ‘flow state’ of deep concentration and focus.
Refining “Extreme” Fine Motor Skills and Neural Pathways
While many modern toys encourage broad, sweeping movements, DIY paper model kits for kids focus on the “micro.” The act of scoring a line for a perfectly clean fold, applying a tiny, microscopic dot of glue with a toothpick, and holding a joint in place for exactly 20 seconds requires immense finger dexterity and hand-eye coordination.
The Development of the Pincer Grip
This level of precision is fantastic for developing the “pincer” grip and the steady hands required for future high-precision tasks. Neurologically, the repetitive yet varied tasks of cutting, folding, and gluing stimulate neural pathways associated with fine motor control and problem-solving. Furthermore, the slow pace of paper modeling acts as a natural “digital detox.” In a world of 10% faster processors and instant gratification, the deliberate speed of papercraft helps children improve their patience and their ability to reach a “flow state”—a psychological state of deep concentration and immersion.
Engineering Principles: Strength in Folds
One of the most surprising lessons learned from DIY paper model kits for kids is that paper can be incredibly strong. Through the principle of corrugation and triangulation, a flimsy sheet of paper can be engineered to support significant weight.
Children learn that a flat sheet of paper has very little structural integrity, but by folding it into a “V” shape or a cylinder, its Moment of Inertia increases, allowing it to resist bending. Triangulation is another key concept; because a triangle is the only polygon that is inherently rigid (where the angles are fixed by the lengths of the sides), it is used in paper models to reinforce joints and support tall structures. These are the same principles used by civil engineers to build bridges and skyscrapers, taught at the kitchen table through cardstock and glue.
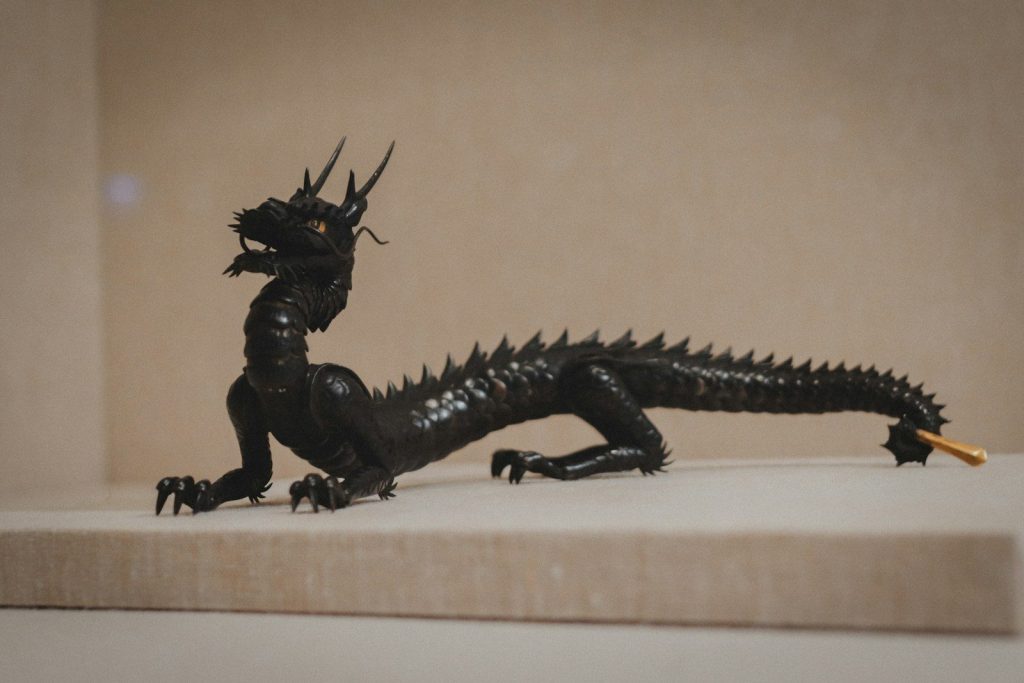
The final product is a testament to the builder’s patience and technical skill.
What to Look for in a Quality Paper Model Kit
To ensure a successful and rewarding building experience for your child, it is essential to consider the technical specifications of the kit. At zixstory.com, we prioritize kits that meet the following standards:
- Paper Weight (GSM): Look for kits printed on heavy-duty cardstock, typically between 200 and 250 gsm (grams per square meter). Standard printer paper is roughly 80 gsm and is too flimsy to maintain its shape, whereas 250 gsm paper provides the necessary rigidity for structural integrity.
- Pre-Cut and Pre-Scored Features: For beginners, “punch-out” or “press-out” kits are ideal. They eliminate the need for sharp craft knives. Pre-scored lines are even more critical; they ensure that every fold is perfectly straight and follows the intended geometry, leading to a professional-looking final product.
- Instructional Clarity: Since paper models can become mathematically complex, a step-by-step visual guide with numbered tabs is essential. A well-designed kit will have a logical assembly order, ensuring that internal supports are built before the exterior “skin” is applied.
Professional Pro-Tips for Successful Assembly
To elevate your child’s paper modeling experience, consider these “insider” tips from experienced paper engineers:
- The “Dry Fit” Rule: Always fold and fit a piece into place before applying glue. This ensures the fold is correct and the piece fits perfectly without the mess of wet adhesive.
- Tool Selection: While fingers work for large folds, a pair of tweezers is invaluable for tucking in small tabs or holding a joint in place while the glue sets.
- Scoring: If a kit isn’t pre-scored, use a dried-out ballpoint pen and a ruler to “score” the fold lines. This creates a small indentation that guides the paper to fold in a perfectly straight line without cracking the printed ink.
- Glue Management: Less is more. A small drop of liquid glue applied with a toothpick is often more effective than a large smear, as excess moisture can cause the paper to warp or “buckle.”
Conclusion: Building More Than Just Models
DIY paper model kits for kids are a beautiful testament to the power of human creativity and simple geometry. They teach children that they don’t need expensive gadgets or advanced technology to create something extraordinary—just a bit of patience, a bottle of glue, and a clear vision. By the time the final tab is tucked in and the model is complete, your child won’t just have a new display piece; they will have a deeper understanding of how our three-dimensional world is constructed. Grab a bottle of glue, clear the table, and start your paper engineering adventure today!
Frequently Asked Questions (FAQ)
Q: What is the best type of glue for paper modeling?
A: For most kits, a fast-drying, clear craft glue or a high-quality glue stick is best. Avoid “school glues” that are too watery, as they can cause the paper to soften and lose its shape. For very intricate tabs, a “tacky” white glue applied with a toothpick offers the best control.
Q: Are these kits suitable for younger children under 8?
A: Yes, but you must choose kits specifically designed for that age group. These typically feature larger “press-out” parts and fewer than 10-15 pieces. Architectural or mechanical models with 50+ parts are best reserved for children aged 10 and up who have developed the necessary patience and fine motor control.
Q: Do I need a craft knife or a cutting mat?
A: Most modern DIY paper model kits for kids are “press-out,” meaning no knives are required. However, if you are moving into advanced “Pepakura” or downloadable models, a precision hobby knife (like an X-Acto) and a self-healing cutting mat are essential tools.
Q: How do I fix a piece if it accidentally tears?
A: Paper is a very forgiving medium. Simply apply a small piece of clear tape or a “patch” made from a scrap piece of the kit’s paper to the inside of the model. Once the model is closed, the repair will be virtually invisible from the outside.
Q: How do I prevent the model from fading over time?
A: Like all printed materials, paper models are susceptible to UV damage. To keep your masterpiece looking “fantastic,” display it away from direct sunlight. Some advanced builders use a clear matte spray sealant to protect the ink and provide a slight moisture barrier.